New Beehives
Phase 1: Preparing the Ground
Phase 2: Installing the Hives
Phase 3: Installing the Bees
Phase 1: Preparing the Ground
|
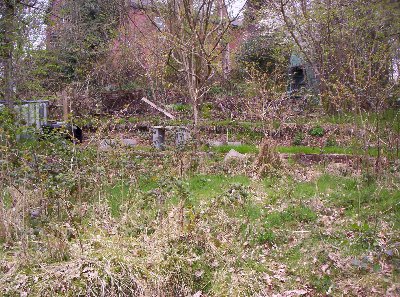
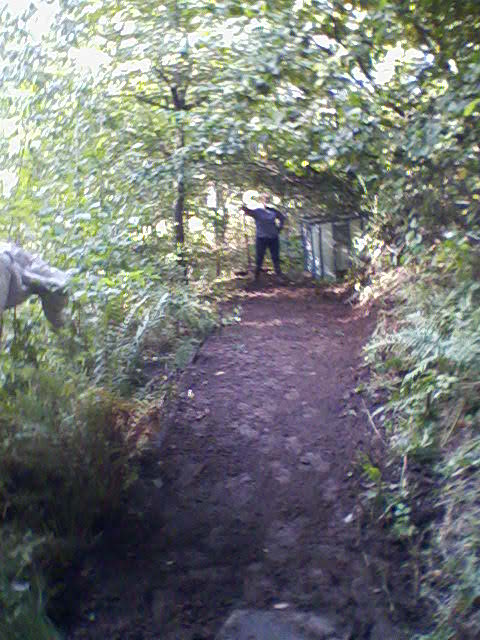
Lee and Susan dig out and level the ground to take new
beehives. |
|
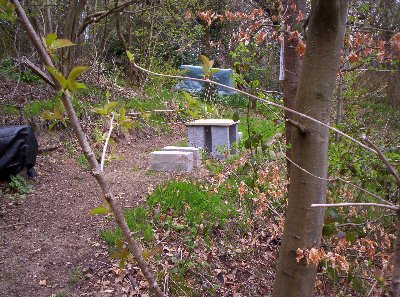
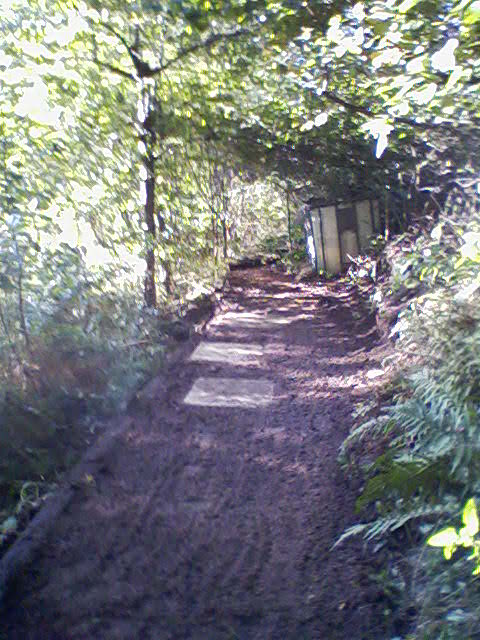
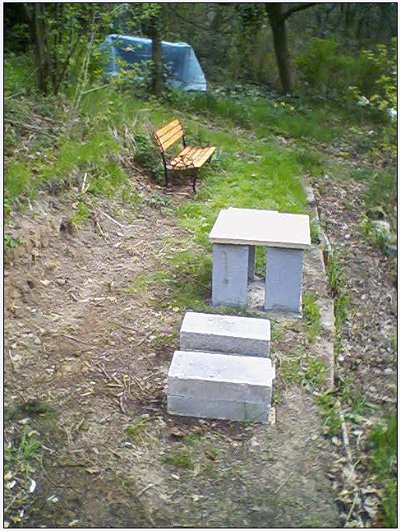
Stone flags are laid to act as support for the hives. |
 |
Stone table erected behind the proposed flower meadow. |
 |
View from the path showing the new compost heap in the background. |
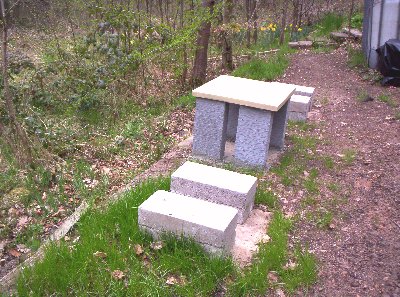 |
Close up of the stone table and hive supports. |
 |
View from the rear showing the overspill from the bog garden. |
Phase 2: Installing the Hives
 |
As part of workday 25/4/10 a bench and one of the hives is installed. |
 |
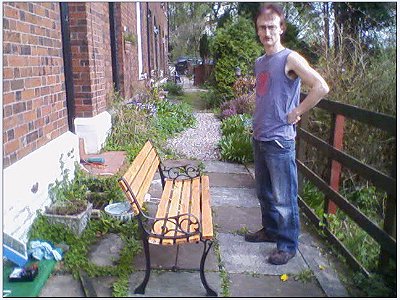
Firstly the bench has to be made. |
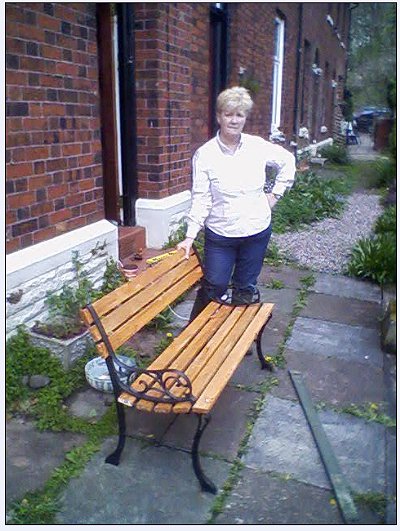 |
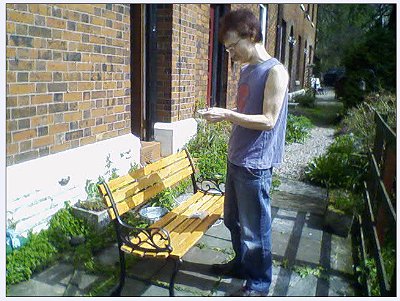
The new bench is ready to go to the site. |
 |
The bench is installed at the hive site. |
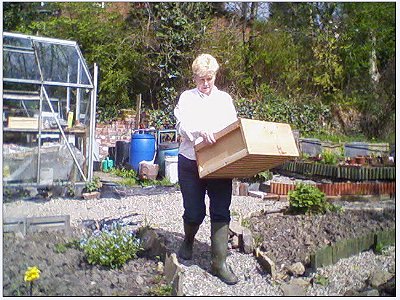 |
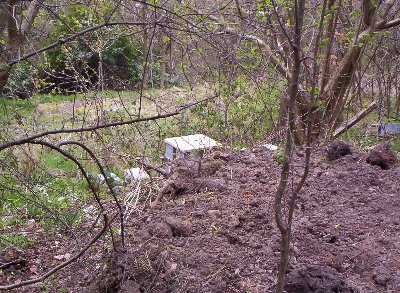
Susan starts to bring down the sections of the first hive. |
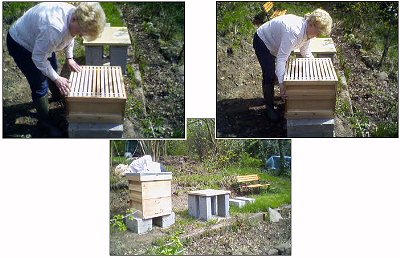 |
Susan constructs the hive on its plinth. |
Phase 3: Installing the Bees
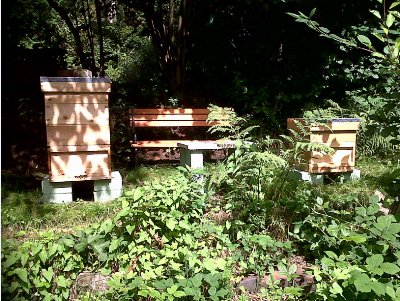 |
The bees are now installed and producing honey! |